2008
Subaru WRX STi
Audio System Upgrade
Constraints
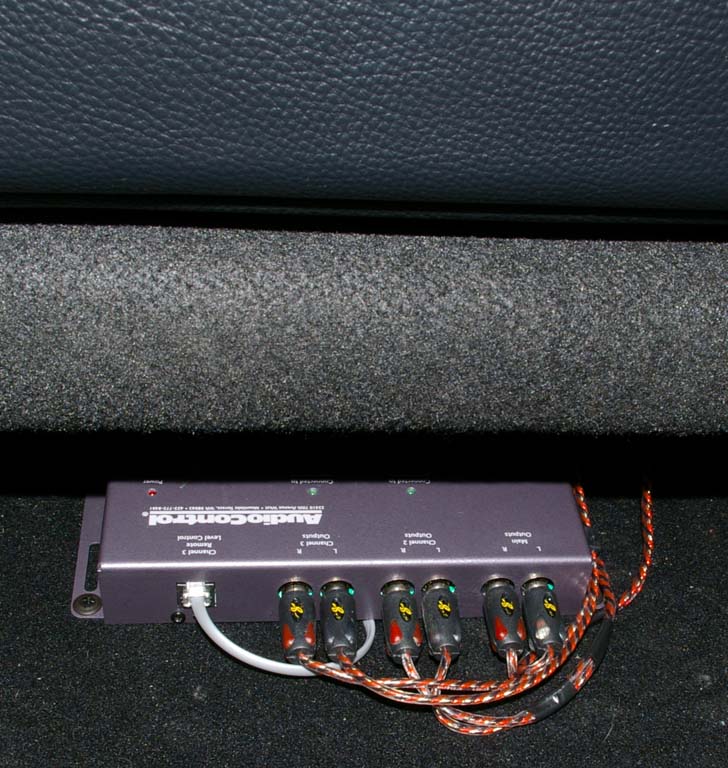
Constraint 1: Retaining the OEM head unit and Sirius lifetime subscription
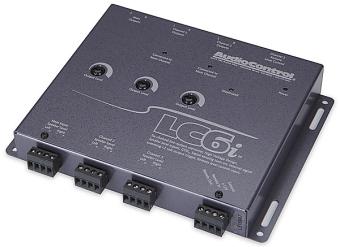
The OEM head doesn’t have a pre-amp out. Boosting signals out of the speaker wires also boosts the distortion that the OEM head has. Audio Control makes a solution for just these occasions. The LC6i (6 channel line conditioner) “accepts speaker level signals, both crossed-over and full range, and converts them to high-quality pre-amp signals. Signals from factory radios with built-in crossovers can be overcome by summing them together, internally, to provide a full-range pre-amp signal.”
Constraint 2: Ambient road noise and cat-back drone
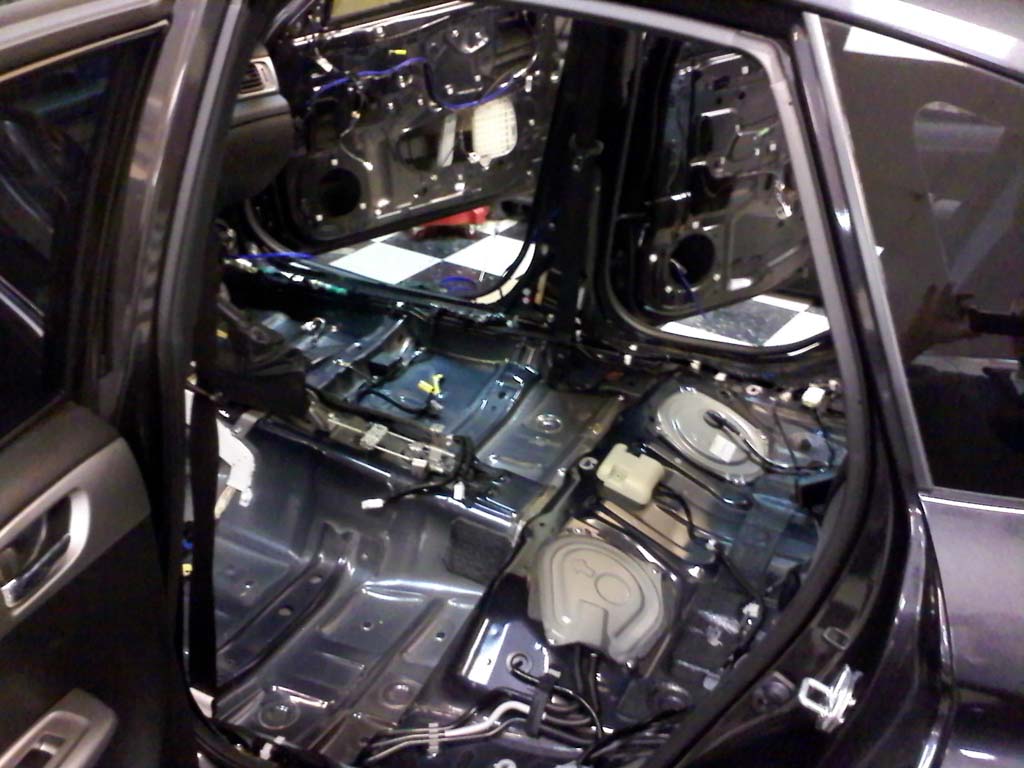
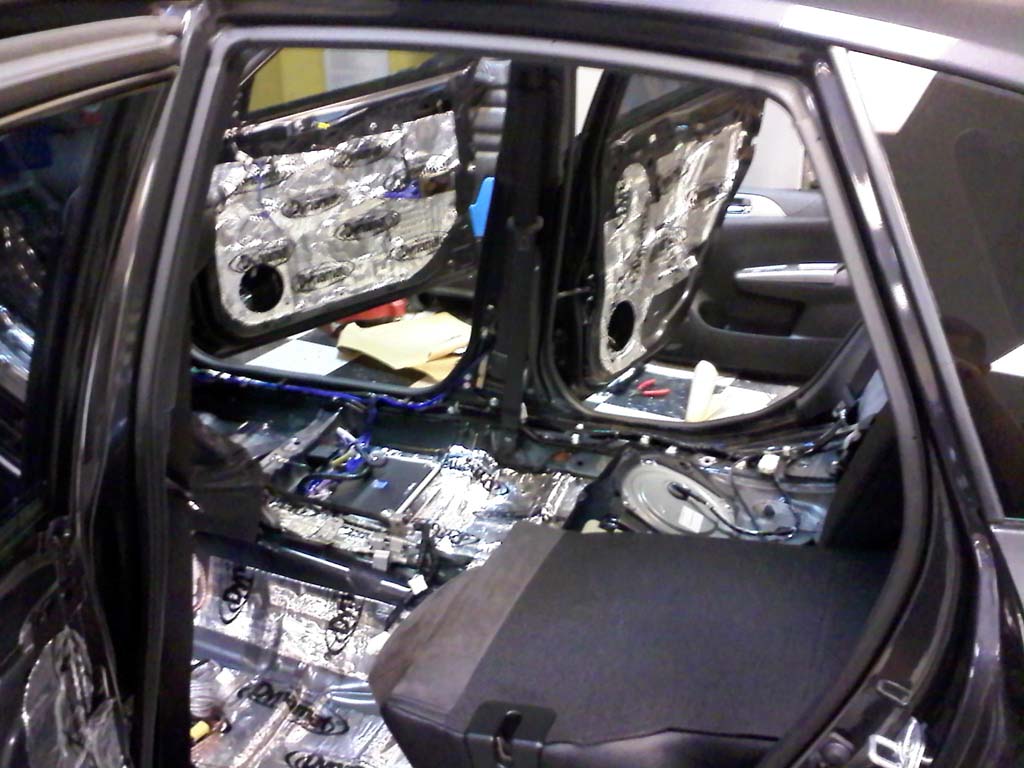
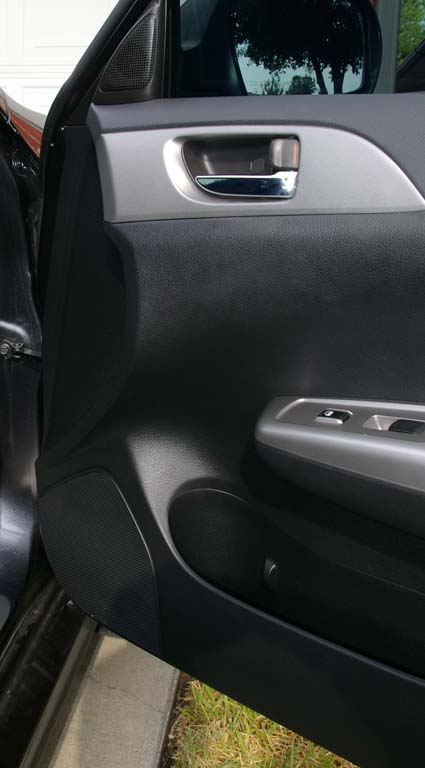
One word: Dynamat. Covering the floors and doors helps block outside noises and also adds insulation. A double whammy of win! Lining the rear subfloor (under the hatch cover where the spare tire and tools stow) addresses the sound that came up from the cat-back. Growl on the outside good. Drone on the inside bad.
Constraint 3: Installation
Installation was as easy as cracking open a checkbook at Car Toys of Hurst, TX. Jesse Caldera (sales) helped me brain storm the system. Juan Castillo installated all of the top-shelf gear that converts car power to music power.
Car Toys
810 NE Loop 820
Hurst, TX 76053
817-595-9410
Equipment Details
Audio Control LC6i: Line Conditioning from OEM head unit
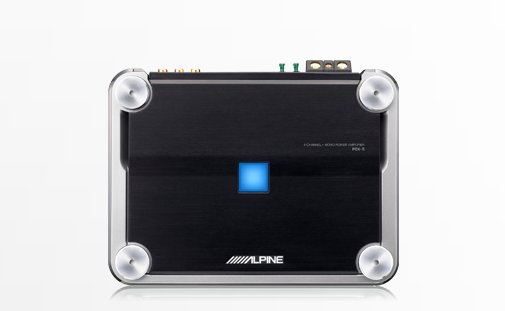
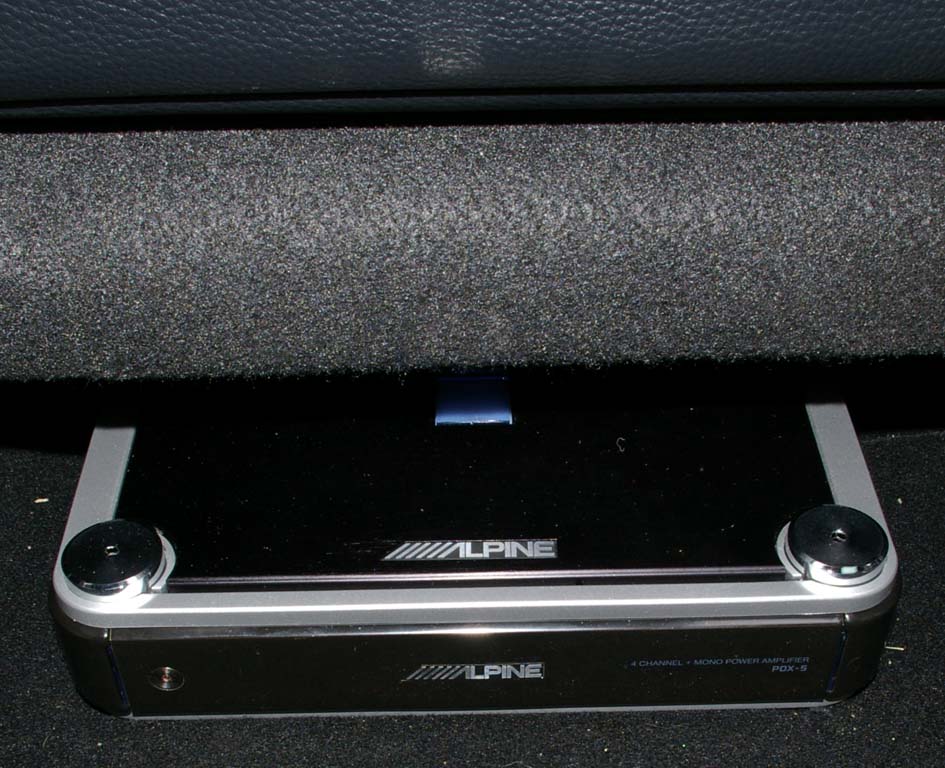
Alpine PDX-5 (discontinued): Power Amp
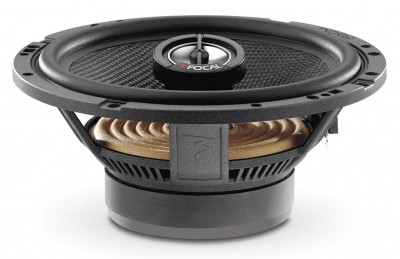
Focal 165V30 Speakers w/crossover (front)

Focal 165CA1 Speakers (rear)
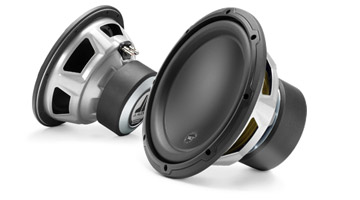
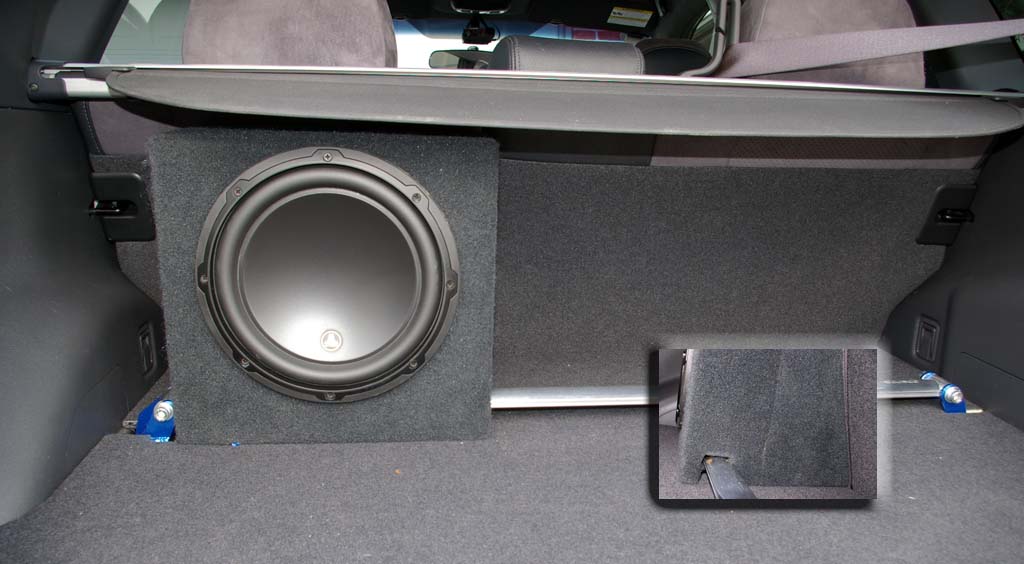
JL Audio 10W3v3-4 Subwoofer (1 on the hatchback deck)
Installation Details
Results
Performance? Excellent! Very clear, detailed highs and mids at all sound levels. Solid, tight bass without booming (again at all volume levels).
Appearance? Stealth baby! Everything went back together without a hint of change unless you look under the privacy curtain in the hatch to spy the subwoofer. Turn the ignition key and there’s no mistaking that someone’s waved a magic wand over the audio. Home run!
(C) 1995 - Present Mark Johnson