![]()
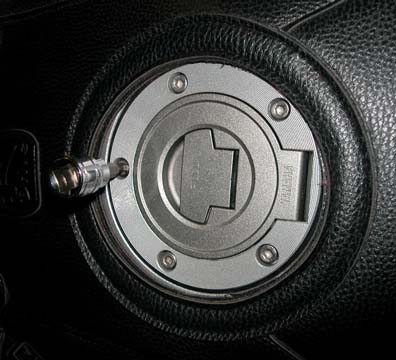
| Fuel Filler Neck Servicing the fuel filler neck for the FJR1300 is an easy and quick task. Even with distractions the whole process probably won't take 20 minutes. Since the pressure relief valve can be affected if dirt and grime accumulate, it's important to do this service periodically. Yamaha doesn't include it in its table of periodic maintenance, but annually would appear to be a good schedule. Riding in dustier areas or on a lot of dirt of gravel roads might require a more frequent schedule. Adjust your maintenance schedule according to your comfort levels. In this example, this was the first time the fuel filler cap had been serviced in 2 and a half years and 25,000 miles. Some dirt/gravel roads had been ridden, but not many (maybe a total of 30 or 40 miles in all this time). Use caution to avoid dropping anything inside the gas tank when working. Work in a well-ventilated area and avoid flames, smoking, or other ignition sources while working around fuel. The detailed steps are:
1. Using a 4mm allen wrench, remove the filler neck bolts
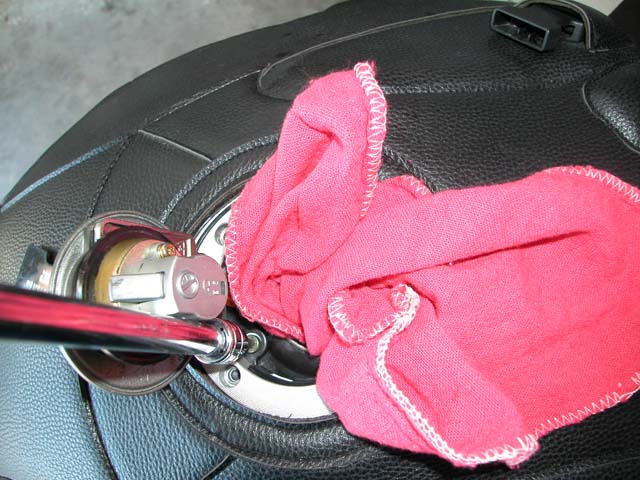
2. Unlock the filler cap and place a rag in filler neck to prevent anything from falling inside the gas tank while you work
3. Remove the last retaining bolt located inside the filler cap assembly (it's another short bolt)
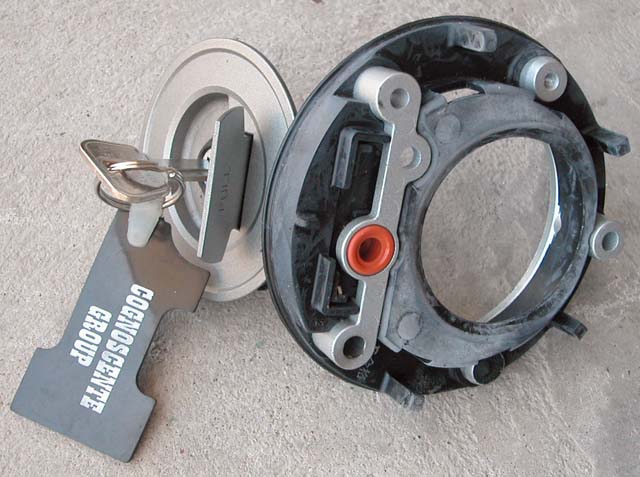
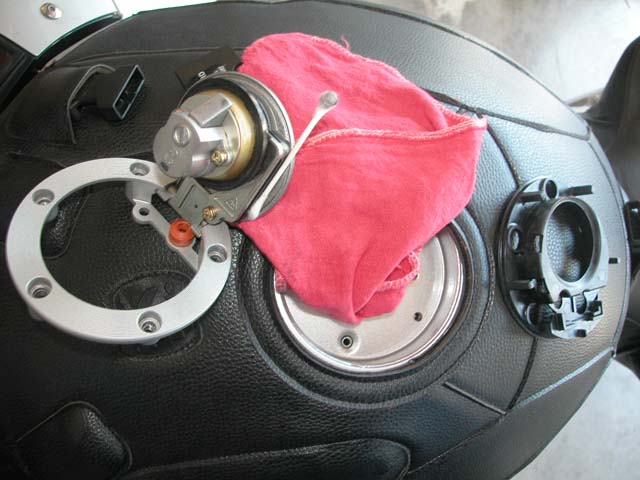
4. Clean the filler neck area
5. Clean the filler cap assembly
6. Once clean reassemble in reverse order
7. Using a "star" pattern start each of the bolts in their proper locations (see #1A)
All
material on this site (c) 1995 - Present, Mark Johnson.
All rights reserved. |